How to Create a Mini Food Forest with Kids: A Fun and Sustainable Gardening Project

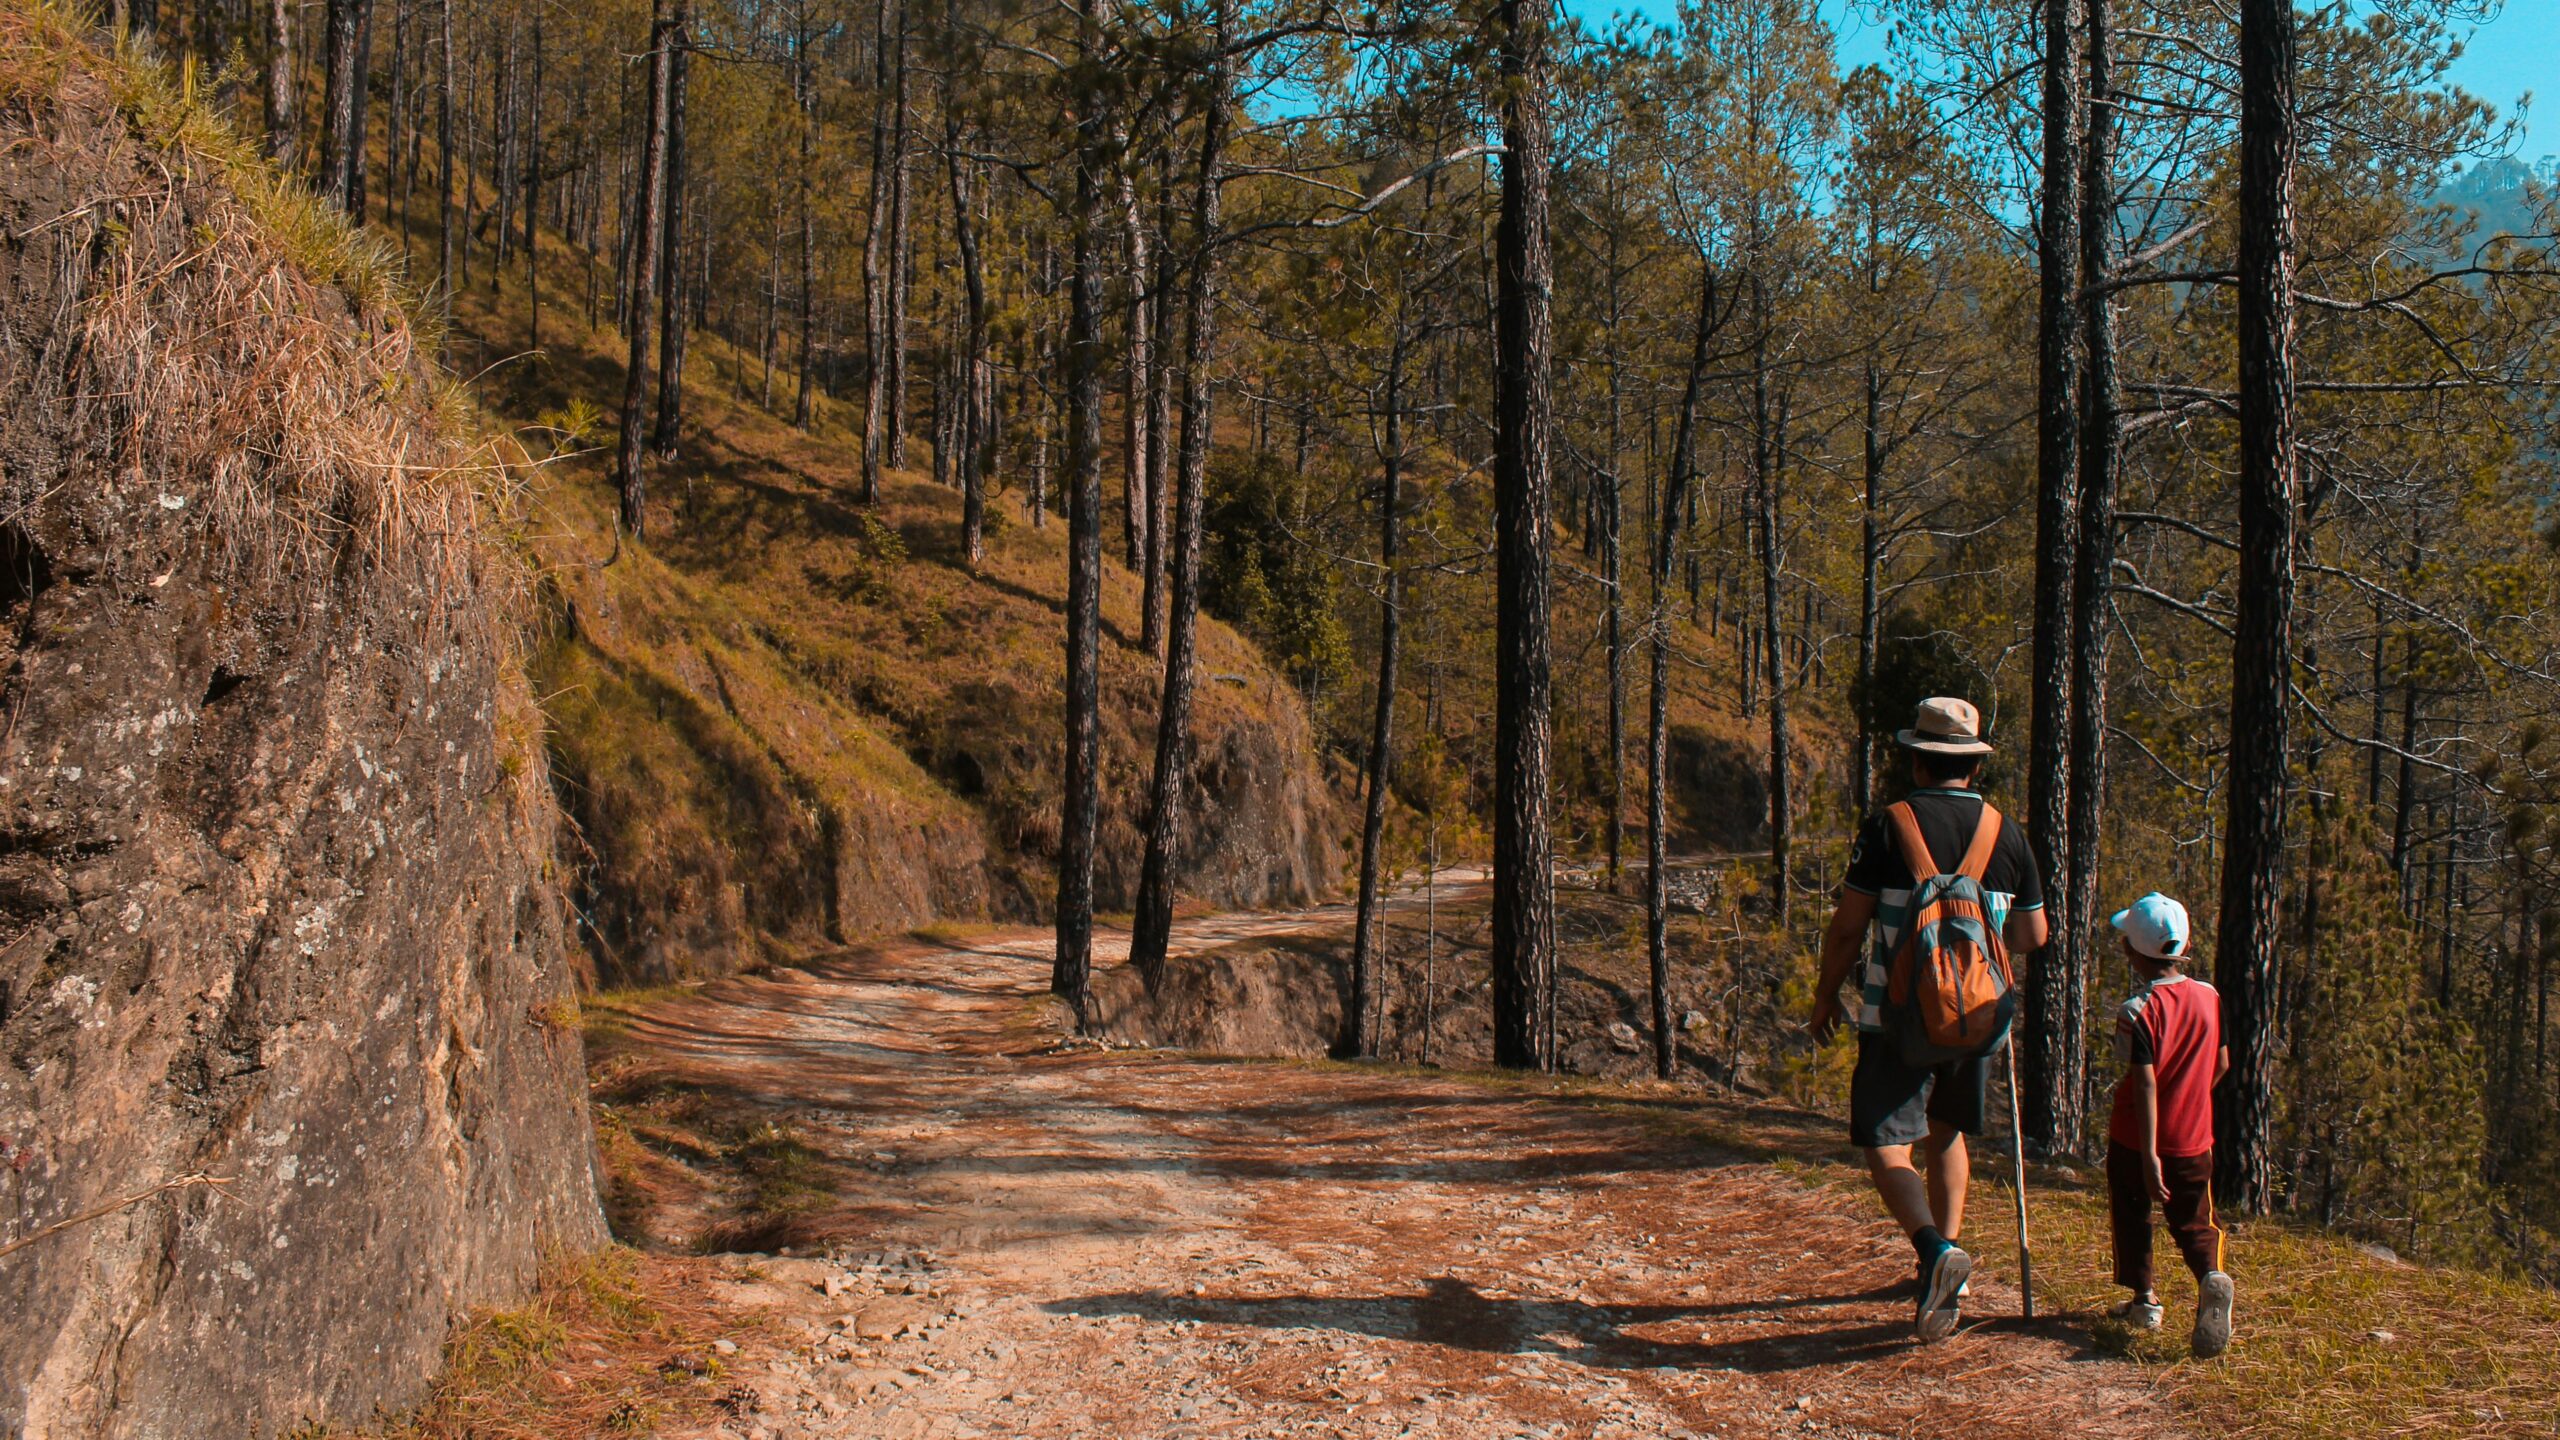
If you’re looking for an exciting way to get your kids involved in gardening, creating a mini food forest is an incredible way to do it. Not only does it give you the chance to teach your children about sustainable gardening, but it also allows them to experience how plants grow in harmony with nature. Unlike a traditional vegetable garden that needs to be replanted each year, a food forest is designed to be self-sustaining and low-maintenance, providing a long-term space to grow food, attract wildlife, and build connections with nature. Plus, the whole family can reap the benefits of fresh, homegrown food. Here’s how you can create a simple mini food forest with your kids.
What is a Mini Food Forest?
A mini food forest is a garden designed to mimic the natural processes of a forest, with plants placed in layers to create a diverse and thriving ecosystem. The idea is to combine different types of plants, each serving a unique role, to help the entire system support itself. Here’s a breakdown of the typical layers in a food forest:
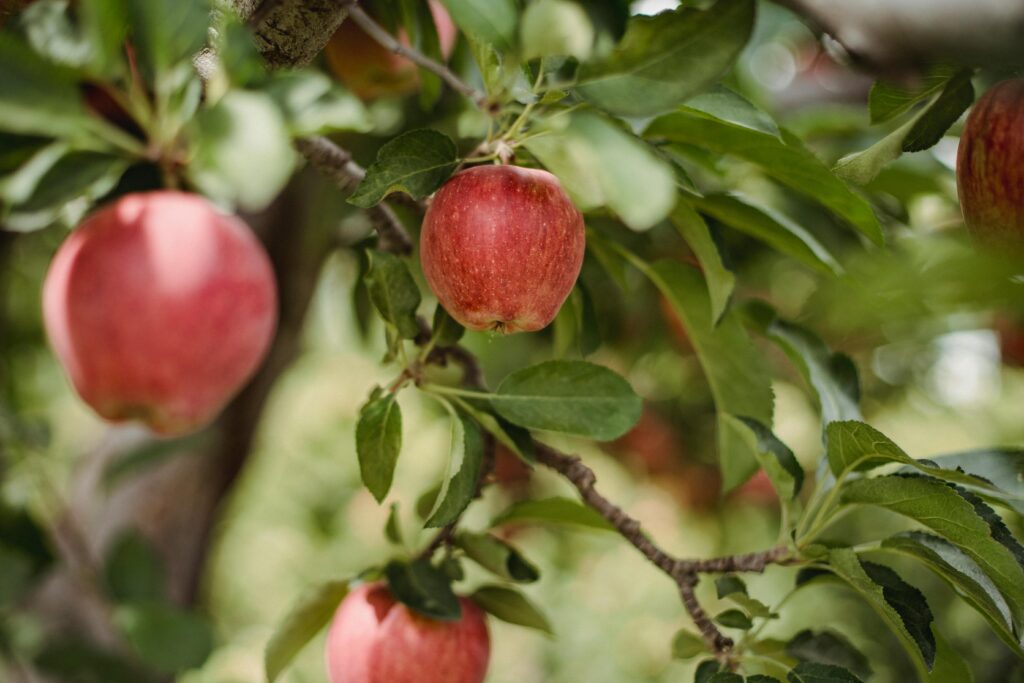
- Canopy Layer: The tallest trees, like fruit or nut trees.
- Understory Layer: Smaller trees or large shrubs that can grow beneath the canopy.
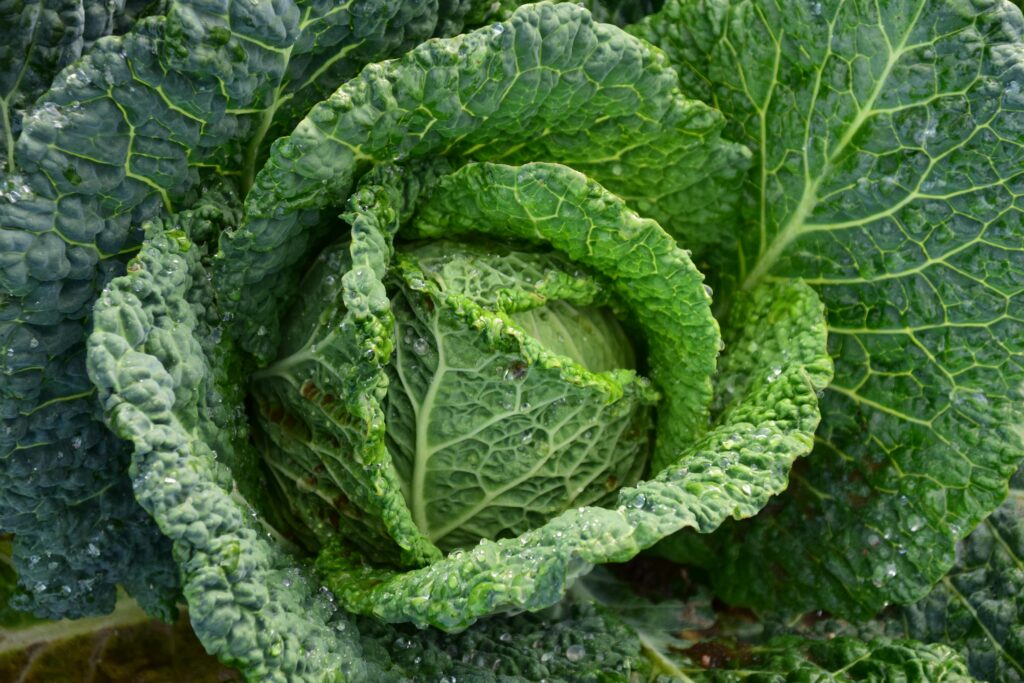
- Shrub Layer: Berry bushes, such as raspberries or blueberries, that thrive in partial shade.
- Herbaceous Layer: Low-growing plants like herbs, flowers, and small vegetables.
- Ground Cover Layer: Plants that spread along the ground, such as clover, strawberries, or creeping thyme, which help suppress weeds and retain moisture.
- Root Layer: Root crops like carrots, garlic, and onions.
- Vining Layer: Climbing plants like beans, peas, or grapes that grow upwards, reaching toward the sun.
This method of planting creates a natural, self-sustaining ecosystem that mimics the balance and harmony found in nature. Best of all, it’s a great way to teach kids about ecosystems and how plants and animals work together to thrive.
Why Build a Mini Food Forest with Kids?
Creating a food forest with your children isn’t just about growing food—it’s about fostering a deeper connection to nature. This project offers numerous benefits for kids, including:
- Hands-on learning: Gardening teaches kids valuable lessons about patience, care, and the cycle of life.
- Building critical thinking skills: Kids will learn how plants interact with each other, which helps them develop a better understanding of ecological balance.
- Encouraging sustainability: By planting a food forest, your children will see firsthand how to create a sustainable and low-maintenance garden.
- Fostering a love for nature: This project allows kids to observe and connect with wildlife, which helps them develop an appreciation for the environment.
Working together as a family to create a food forest is an excellent way to bond while teaching kids the importance of nature and sustainable practices.
Step-by-Step Guide to Creating Your Mini Food Forest
Step 1: Choose the Right Location
Before you start, take some time to assess your space. A food forest needs sunlight, but it should also have some shelter from harsh winds. Aim for a location that gets at least 6 hours of sunlight a day, preferably with good drainage. If the soil is too sandy or clay-heavy, you might need to amend it, but don’t worry—this can be a great learning opportunity for your kids.
Ask your kids to help observe the area. Have them take notes on things like:
- Where the sun hits throughout the day.
- Whether the area stays wet after rain or dries quickly.
- Any wildlife that visits (like birds, insects, or squirrels!).
This observation process helps kids understand how plants and animals interact with their environment, which is an important lesson in ecology.
Step 2: Prepare the Soil Using the Lasagna Gardening Method
Creating healthy, fertile soil is the foundation of a successful food forest. Instead of tilling (which can disturb the soil structure), you can use the lasagna gardening method—a no-dig technique that layers organic materials to improve soil fertility.
Here’s how you do it:
- Lay down a layer of cardboard or newspaper to suppress weeds.
- Add a layer of compost, followed by a layer of organic materials like leaves, grass clippings, or straw.
- Top it off with more compost and let the layers decompose over the next few weeks.
This method will build rich, nutrient-dense soil that supports healthy plant growth and is easy for kids to help with.
Step 3: Select Plants that Work Together
The key to a successful food forest is companion planting—choosing plants that support each other. For example:
- Apple trees provide shade for berries like blueberries, while herbs like basil repel pests that might otherwise harm the trees.
- Beans help fix nitrogen in the soil, which is good for corn.
- Garlic and onions can be planted around your carrots to deter pests.
Let your kids help with plant selection. Not only will this get them excited about the project, but it’s also an opportunity to teach them about biodiversity and the importance of fostering balanced ecosystems.
Step 4: Mulch, Water, and Maintain
Once the plants are in the ground, cover the soil with a layer of mulch—such as wood chips, straw, or leaves. This helps retain moisture and keeps weeds at bay. Instead of frequent watering, use the deep watering method to encourage the roots to grow deep into the soil, making the plants more drought-resistant over time.
To keep things fun, involve your kids in watering and mulching, turning these tasks into a routine you can do together.
Step 5: Encourage Wildlife and Observe the Changes
A thriving food forest attracts wildlife, which is a great way for kids to observe nature in action. You can make this an even more engaging experience by adding a bee hotel, a birdbath, or even a small pond.
Encourage your kids to document the wildlife they see visiting the food forest. This could include:
- Bees and butterflies visiting flowers.
- Birds hopping around looking for food.
- Earthworms or ladybugs in the soil.
This is an excellent way to teach kids about the importance of pollinators and other beneficial insects.
Step 6: Harvest and Share the Bounty
As your mini food forest begins to thrive, involve your kids in the harvest. Let them pick fruits, berries, and vegetables, and share the produce with family and friends. Celebrate the efforts that went into growing these foods together!
Conclusion: Reconnect with Nature, One Layer at a Time
Building a mini food forest with your kids is a fantastic way to teach them about sustainability, ecology, and the joy of homegrown food. By planting together, observing nature, and maintaining the food forest, you’re fostering a deeper connection to the environment that will stay with them for a lifetime.
This project provides a unique opportunity to connect with nature and engage kids in a hands-on way that’s both fun and educational. So, what are you waiting for? Start planning your mini food forest today, and watch your kids learn, grow, and thrive just like the plants in their garden!